Thank you guys so much for all the wedding dress support yesterday. I am so excited to get my wedding dress in the mail and try it on. And I can’t wait to get to show it to you guys, although unfortunately that will be sometime next year after the wedding. I don’t want to take any chances of Josh seeing the dress before our big day!
As I’ve mentioned on here before Josh and I are planning this wedding on a seriously small budget. We’re both still in school and while we will be graduated by the time we get married neither one of us will have started our careers and we do not want to start out our lives together by going into debt for a wedding. That said, we still want a beautiful, fantastic day. I don’t think that a wedding has to cost a lot of money to look amazing. If you’re willing to take on some of the tasks yourself you can really save money. After getting quotes for flowers from local florists and realizing that my dream peony bouquet was not only not feasible but not possible in July, Josh and I decided to make our own flowers and use silk ones so that we wouldn’t have to worry about them being fragile or potentially dying before the ceremony.

Our bridesmaids will be carrying champagne hydrangeas. For my bouquet and six bridesmaid bouquets to be done using real flowers through a florist we would be looking at over $300 for teeny tiny bouquets. The cost of us making our own (including a toss bouquet and cake table decorations) was $70. I’ve learned that there are so many hidden costs when planning a wedding that trying to come in under budget will usually end up putting you pretty close to your budget. Despite keeping costs down as much as possible Josh and I are still over our initial wedding budget. Hopefully we can find some more creative ways to save money to help keep our numbers down.
As great as it was to save money by using silk flowers it also gave Josh and I a fun little project to do together that helped make the wedding feel more personal to us. At first I was intimidated by the thought of making our own flowers and I worried about messing them up. Once we really started I realized it was super simple to do and thought it would be fun to share our quick and easy 10 step process to making your own wedding bouquets!
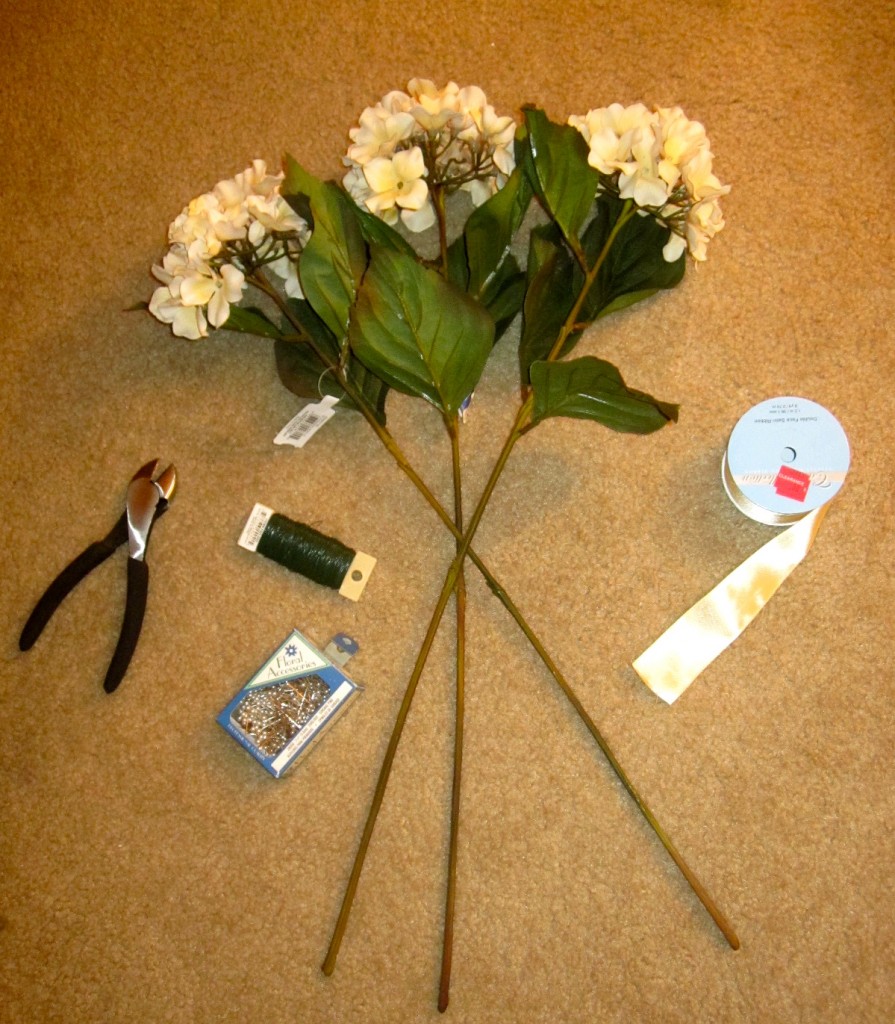
Your materials:
- Flowers of choice
- Flower wire
- Ribbon
- Pearl topped pins
- Wire cutters
- Scissors
- Tape
I don’t know if you can see the clearance sticker on the ribbon but we got all of our materials at JoAnn Fabrics and got crazy good deals. This past week was their coupon extravaganza where everything in the store that was full price was 50% off and then Josh and I got an extra 20% off everything for being students. Silk flowers can be just as expensive as real flowers so always make sure to hold out for sales and coupons!
1. Simply pluck all the leaves off the stems. This is really easy since they are detachable. And bonus they can be used for something else if you so wish. Gotta love plastic!

2. Snip off the little stem nubs with wire clippers.
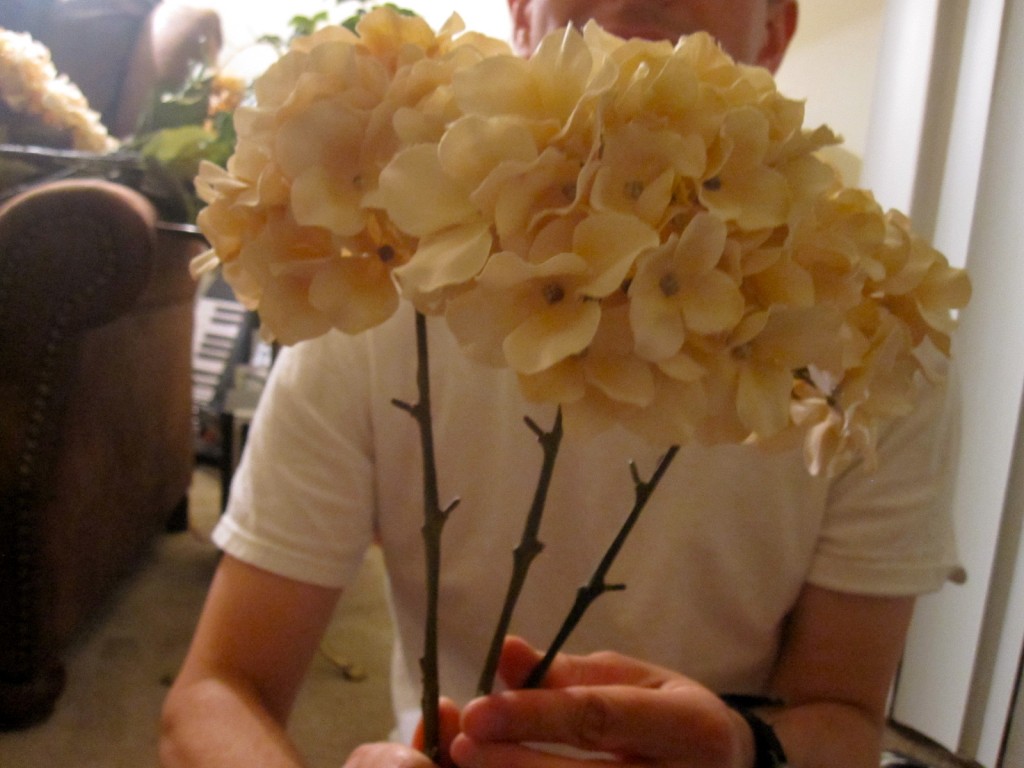
3. Arrange the flowers how you would like them to look. Crossing the stems over one another provides a fuller, rounder look than simply putting the stems side by side.
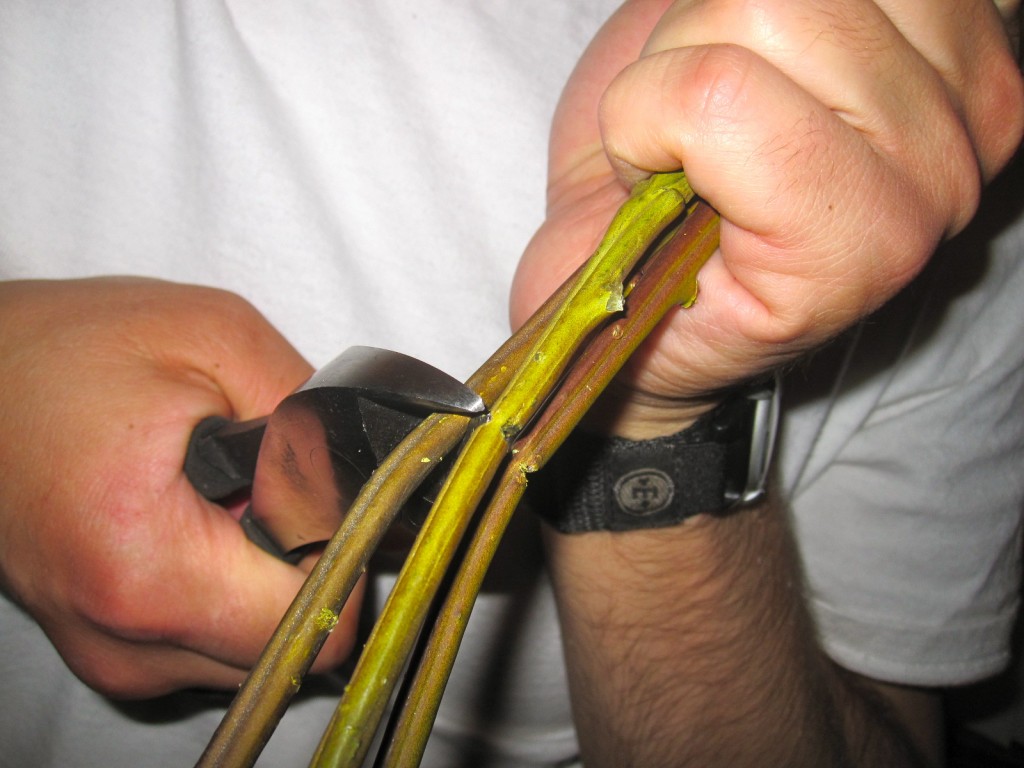
4. Find a comfortable length on the stem for the bouquet and then snip off the excess stem at the bottom. I recommend keeping the bouquet long enough to be held with two hands.

5. Take your flower wire and wrap it tightly around the top of the stems. This will keep the stems from moving while they are being held. Tuck the one end of the wire into the middle of the stems so that it can’t poke anyone and continue to wrap the wire tightly down the length of the stems.

6. Once you’ve wound the wire all the way down the bottom of the stem wound the wire back up again. You want to make sure the flowers are tightly bound but don’t want to over-bind them because then you will not be able to push pins through at a later step. When you get to the top of the stem again simply push the other rough edge into the center of the stems to keep it from poking someone.
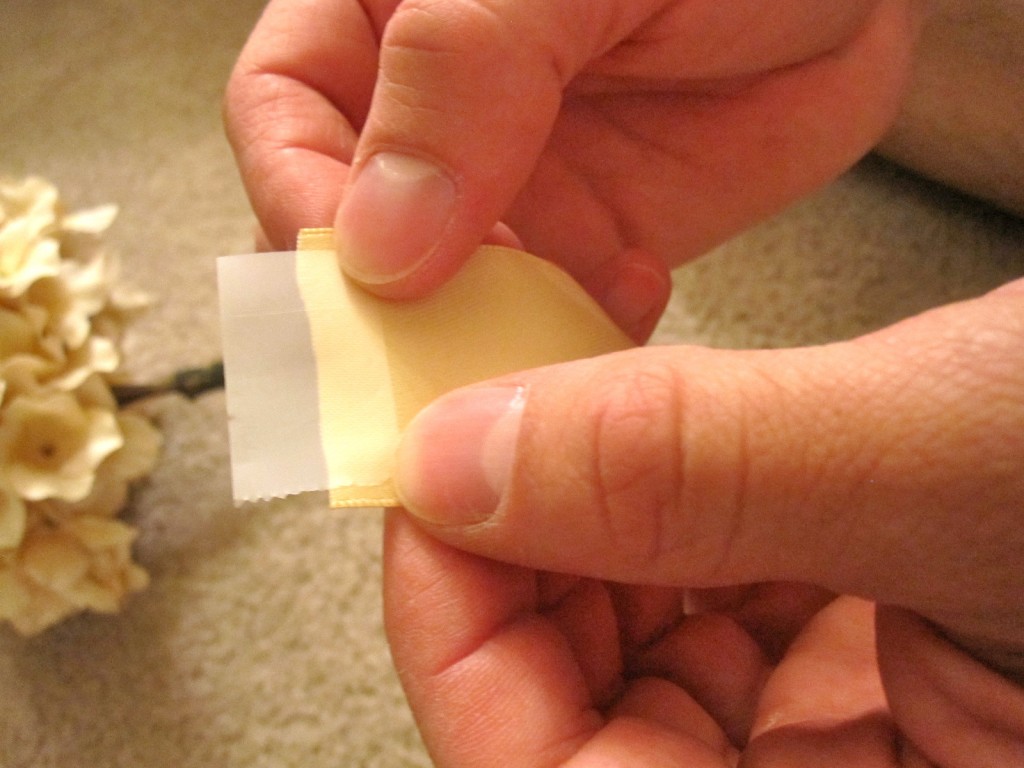
7. Take the ribbon you would like to bind your flowers in and put tape over the cut side. This will keep it from fraying at the bottom of your bouquet.

8. Starting at the bottom of the stems tightly wrap the ribbon around the stems and wrap upwards pulling tightly as you do so there’s no slack in the ribbon. You do not want the ribbon to have any give when your bridesmaids hold it.

9. When you get to the top of the stems cut the ribbon, fold it over so that you can’t see any lines, and then hold it tightly in place where you would like the top of the ribbon to be.
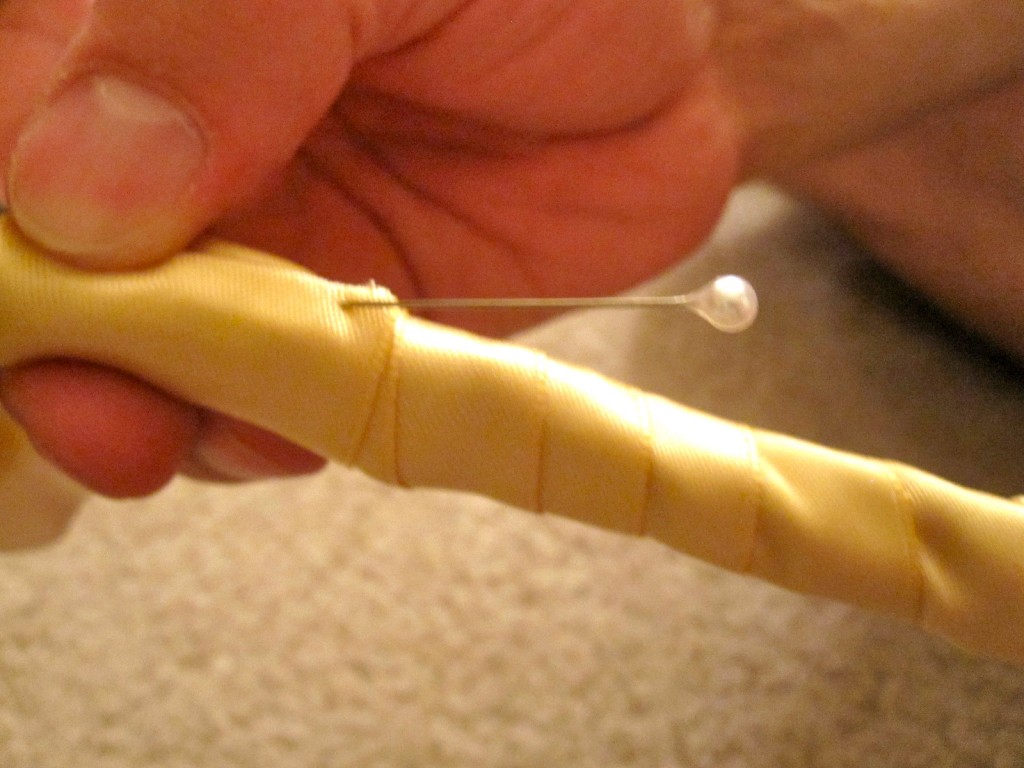
10. Fasten securely with push pins. We used pearl topped pins because we thought they looked really pretty. You need to be really careful at this step to make sure no pins come out the other side, that could make for a very messy wedding. Because of the wire underneath this step takes a little time to make sure you get the pins in correctly. I’ve found it to work best when I push them in slightly and then up or down. We used three pins on each bouquet to secure them really tightly.
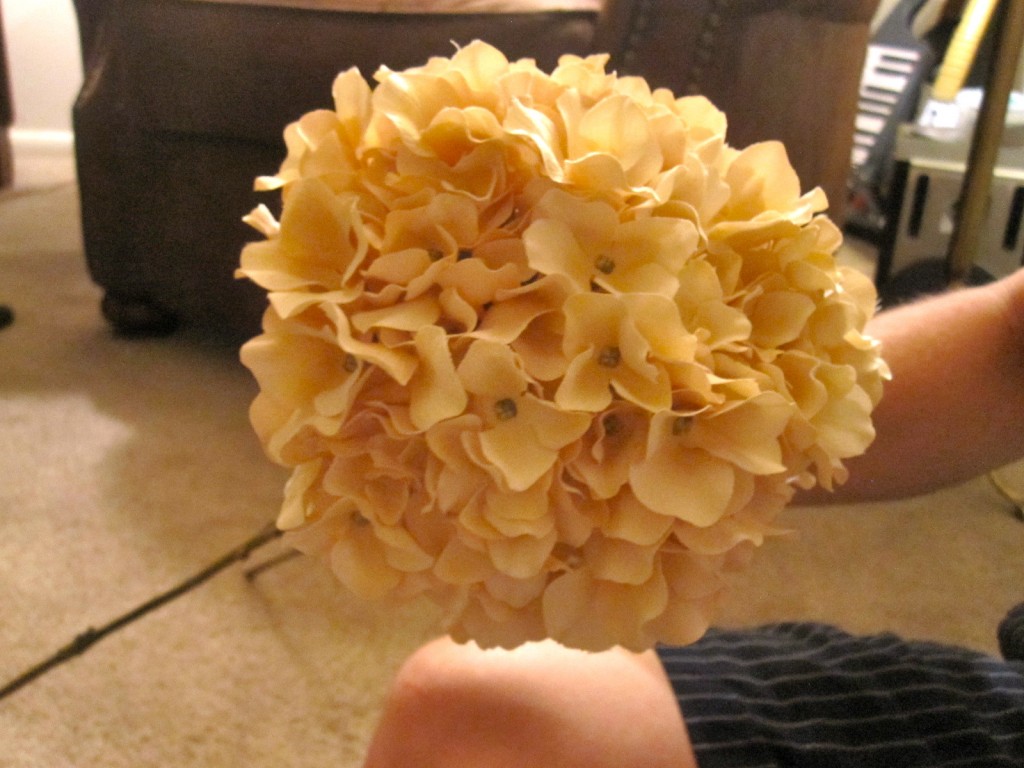
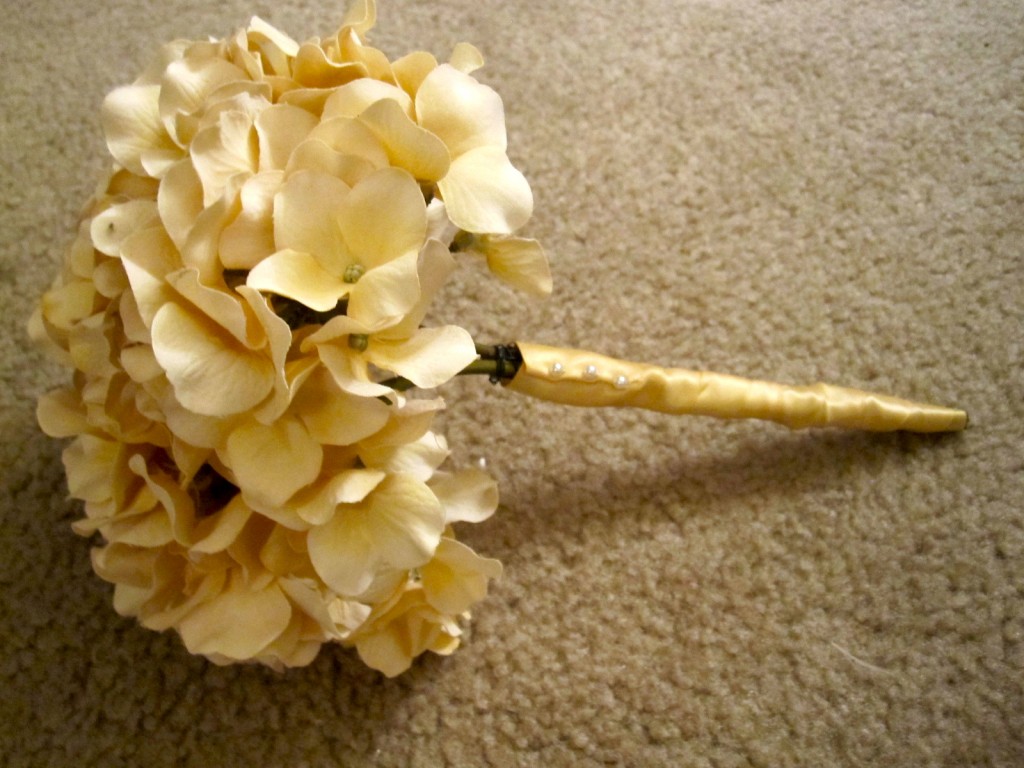
And voila! An easy, beautiful, super cheap bouquet! Josh and I were so happy with how they turned out and had a lot of fun making them. It’s really amazing to see our wedding day vision come to life! 🙂

I love how they look from up close and far away. I’m so excited to see my bridesmaids carry them, and to see this guy at the alter! 😀
Question of the Day: Got any DIY wedding tips? We’re looking for something easy and simple for name cards and centerpieces and would really appreciate ideas!
those bouquets are so beautiful! I do love some well done handcrafting from time to time – but never tried to make a flower arrangement myself.
Thank you so much! We had the best time making them and are really happy with how they turned out!
oooh you almost almost make me wish Id not eloped 🙂
BUT we’re coming up on 16 yrs (!) and 20 warrants a new wedding YES??
Omg congrats on the upcoming big milestone! I think a vow renewal would be amazing!
For the centerpieces at my wedding we just did floating candles in vases with a flower at the bottom. Really cheap since the containers and candles were all bought from the dollar store and the flowers came off a bouquet bought at Walmart for like 5 b.cks. Check out the dollar tree online dollartree.com you can order in bulk from there
I LOVED your centerpieces! I just don’t know if I have the artistic talent to be able to recreate them. ;p
That’s so sweet that Josh helped you make these! They look great, and they are much more meaningful as something you made together. You guys are adorable.
Aw thank you so much Lily, we had a blast! I hope you are having a wonderful birthday!
http://www.etsy.com/weddings?ref=fp_ln_new_weddings
hey i found this website and thought it might have some good ideas for you guys!
OMG this is amazing!! Thank you so much for the link girly! <3
I would love to try this out on my own wedding. Preserve Flower Utah